


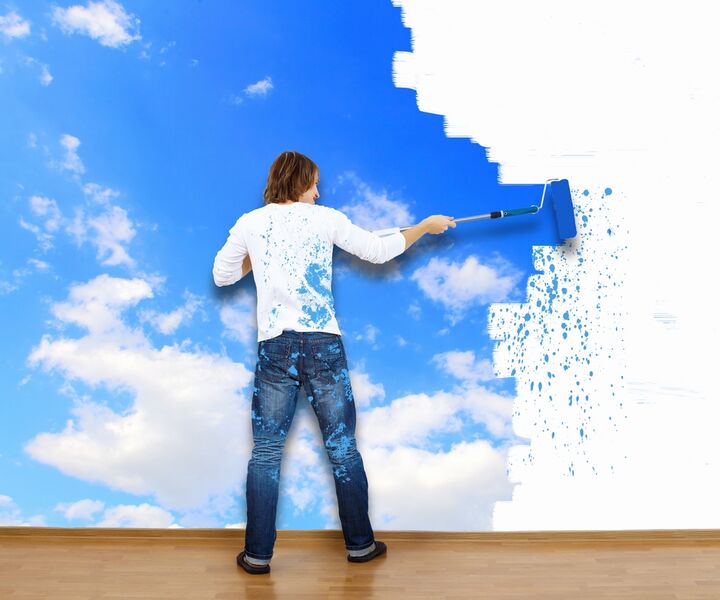
A wall mural is any piece of artwork painted or applied directly on a wall. One of the distinguishing features of a wall mural is that the structural elements of the house should blend well with the picture. This technique of art has been widely used since the late 19th century and can be seen in many famous structures. There are many ways on how to create your own wall mural and the use of them depends on which you are comfortable with. Some artistic individuals use their own imagination in creating one while others use certain tools and equipment to help them in designing their walls. Whatever technique you will use, you will always be proud of the output since your own work of art is displayed on the wall and that they can be the center of attraction of the room or space.
Preparing the wall
Before painting your wall mural, the wall should be checked first and the workplace must likewise be prepped. Make sure that the wall is clean and not suffering from any moisture damage or cracks. These cracks should be dealt with first before painting the wall. Cracks that have not been remedied may likewise cause damage to your painting. Check for the presence of molds, dirt, oil, or grease. If these are seen, clean them thoroughly. Remember that molds and mildew may return unless the cause has been treated. It is recommended to wash the wall using a mild soapy solution to ensure the cleanliness of the wall.
After the wall has been cleaned, the next step is priming the wall. The role of the primer is to ensure that the paint that you will use in your wall mural will stick to the wall. After priming the wall, you have three choices to create a more appealing wall mural: 1. Start painting directly onto the wall; 2. Add texture to the wall, such as by applying plaster, to create and interesting surface; 3. Some prefer painting on a canvas, and if this is the case, adhere a large piece of pre-primed unstretched canvas to the wall. Adhering canvas is similar to installing wallpaper.
Transferring the image onto the wall
To start with your own mural painting, the image you desire needs to be transferred onto the wall. The design that you have sketched of a paper needs to be enlarged into the wall with the use of either the grid method or the art projector. The grid method is an inexpensive way to enlarge an image. However, this method is also a time consuming process, depending on the size and the detail of the painting that you will have. This method involves drawing a grid over the reference photo and drawing a grid or equal ratio on the work surface. After which, you can now draw the image on the wall, one square at a time, until the entire image has been transferred. After the transfer, you can erase the grid or you can just simply paint over the grid lines and start working with your painting.
The art projector on the other hand is a tool tool for all levels of wall mural painters. Projectors are used to enlarge and transfer the image onto the wall.
After the pencil outline, the underpainting can now be started. The underpainting consists of large blocks of color, where you can paint more detail later.
Painting your own wall mural
Most mural techniques are similar to painting techniques that are used when painting with acrylics on canvas.
Here are some of the mural techniques that you may use in painting your wall mural:
1. Sponging – one of the great ways to create a texture in a mural. To create more sense of depth and interest, you can also sponge a color on top of another color
2. Stippling – one of the popular techniques in creating a detail, for instance, you can bring a green field into life by stippling other colors into the green.
3. Stenciling – this is a popular technique since it is simple and easy enough for anyone to do. Stencils can be purchased in a wide variety of shapes and sizes and there is a wide range of designs to choose from: animals, letters, numbers, nature, and others.
4. Antiquing – this technique allows your mural to look old, thus creating a sense of history into your room. This is achieved by mixing your desired colors with an acrylic glazing medium.
5. Glazing – the technique will allow you to thin and stretch the paint, making it more translucent, such that the color underneath will show through.